November 9, 2025
When it comes to custom automotive paint, the process can seem like an overwhelming mix of science and artistry. However, mastering the basics of mixing dry pearls and applying them to your vehicle's parts can unlock the ability to achieve unique, head-turning finishes. Whether you’re restoring a damaged vehicle or enhancing its appearance, understanding these techniques can ensure you maintain not only your car's structural integrity but also its visual appeal. This guide will walk you through the transformative process of creating a custom tri-stage paint job, as demonstrated in a detailed video tutorial.
For vehicle owners in Shreveport and Bossier City, LA, customizing your car or motorcycle with a high-quality paint job isn’t just about aesthetics. A well-done paint finish can enhance the value and longevity of your vehicle. Custom paint jobs, especially those using dry pearls, create a striking effect that adds depth and character to your vehicle. Whether you’ve been in an accident and looking for a way to restore your car or simply want that "wow" factor, this process offers a creative solution.
Below, we break down the steps and essential tips for mixing and applying dry pearls, based on real-world examples and professional insights.
Before applying any paint or pearl mixture, thorough preparation is key. In the featured tutorial, the expert starts with motorcycle parts - such as tanks, fenders, and battery covers - that have been stripped down to bare metal. The preparation process involves multiple stages, including:
Each of these steps ensures the final finish is flawless, with no rough spots or inconsistencies. Skipping or rushing through preparation could compromise the end result.
In this tutorial, the professional opts for a black base coat, which provides a dramatic canvas for the custom pearl. Here’s how to approach this step:
A black base coat is a popular choice for pearl finishes because it enhances the depth and richness of the pearl color.
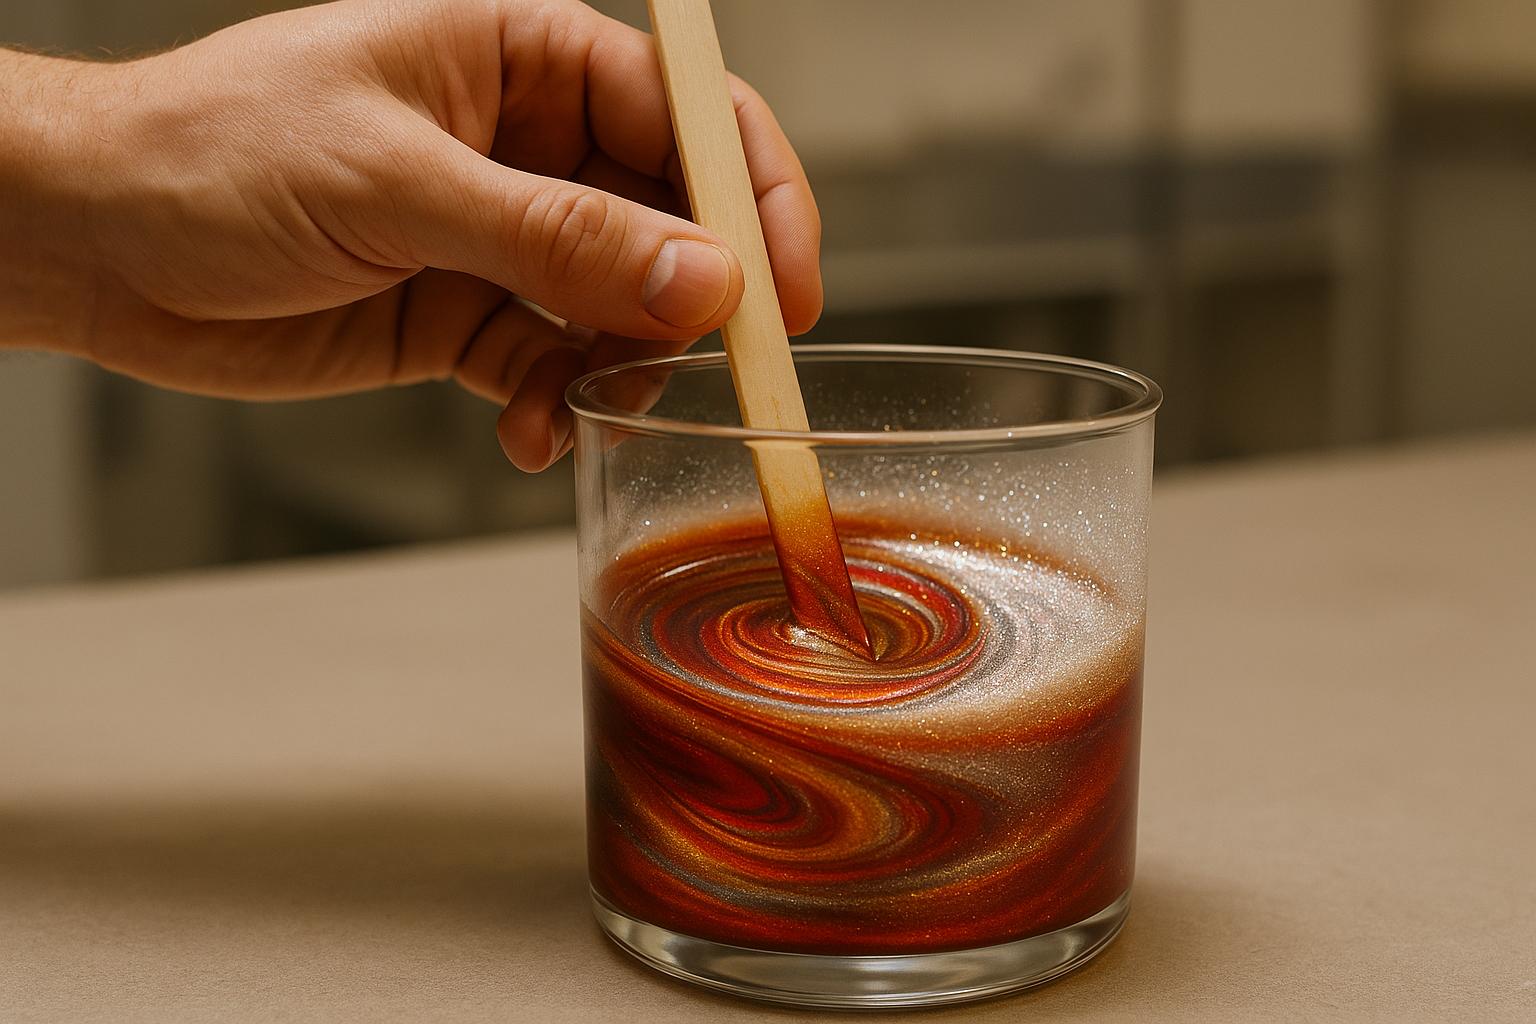
Now comes the part that intimidates many DIY enthusiasts: mixing the dry pearls. The process involves combining the pearl powder with an intercoat clear, which acts as a carrier for the pearl. Here’s a breakdown of the steps:
Once your pearl mixture is ready, it’s time to apply it over the black base coat. This step requires precision to avoid uneven distribution:
In the featured example, the artist creates a breathtaking blue pearl effect. When the light hits the surface, the pearl reveals an iridescent blue sheen, while retaining a dark, mysterious appearance in the shadows.
The final step is to lock in the pearl finish with a clear coat. This adds depth, protects the paint, and gives the surface a glossy, professional look. Here’s how to approach this step:
For residents of Shreveport and Bossier City, LA, a custom paint job is more than just a cosmetic upgrade - it’s an investment in your vehicle. Whether you’re repairing damage or creating a statement piece, understanding the science of automotive paint ensures a result that meets your expectations. Dry pearls, in particular, offer a customizable and luxurious finish that reflects both quality and creativity.
By following these steps, you can achieve a professional-grade paint job that transforms your vehicle into a true work of art.
Customizing your car or motorcycle allows you to stand out while preserving the value and quality of your vehicle. Whether you’re a DIY enthusiast or plan to collaborate with a professional auto body shop, mastering these techniques will ensure your next project is a success.
Source: "How to Mix Paint at Home (Custom Paint Job Made Easy)" - BodeVision, YouTube, Sep 16, 2025 - https://www.youtube.com/watch?v=xxz7stgXwrc
